English
 Español


Classic Car Fuel Pipe Fittings Replacement Guide
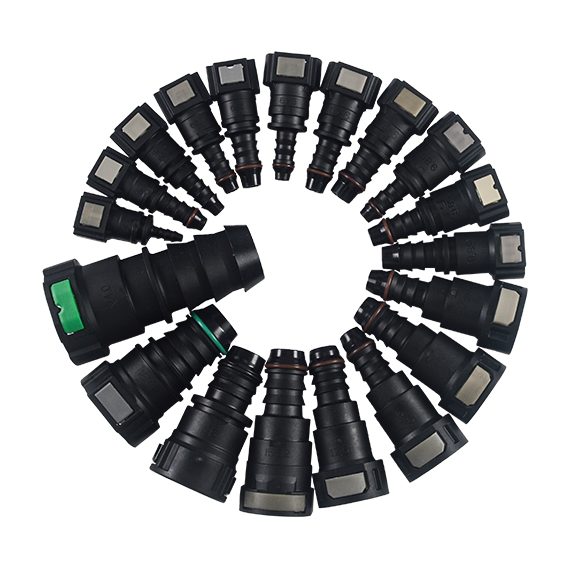
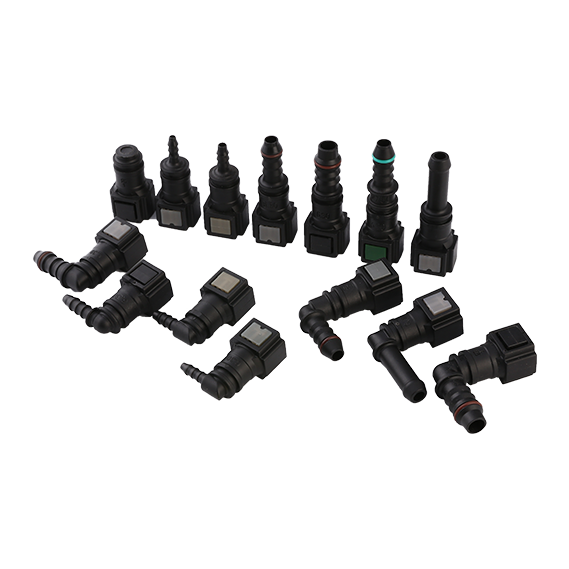
When performing fuel system maintenance on a vintage vehicle, it is essential to know how to handle auto fuel line fittings. These components are responsible for safely carrying fuel from the tank to the engine and ensuring that pressure and flow are maintained without leaks or failures.
Replacing classic car fuel pipe fittings requires attention to detail, especially given variations in materials, fitting types, and routing. With careful work and attention to detail, your classic vehicle’s fuel system can be restored to dependable condition for years to come.
1. Inspect the Current Fuel System Carefully
Before starting any replacement work, thoroughly examine the existing fuel lines and fittings on your classic car. Old fuel pipes can be made from steel, copper, or even early alloys, and over years they may suffer from corrosion, rust, or fatigue. Rigid steel lines often remain strong but can corrode, while copper lines are easier to bend and repair but are heavier and more prone to fatigue over time.
Look for pitting, rust spots, or visible cracks.
Check fittings at joints, elbows, and connections to nearby components like the fuel pump or carburetor.
If hoses are present, make sure they are fuel-rated and not brittle or swollen from age.
Careful inspection helps you decide whether you need to replace only fittings or the entire fuel pipe assembly.
2. Choose the Right Replacement Materials
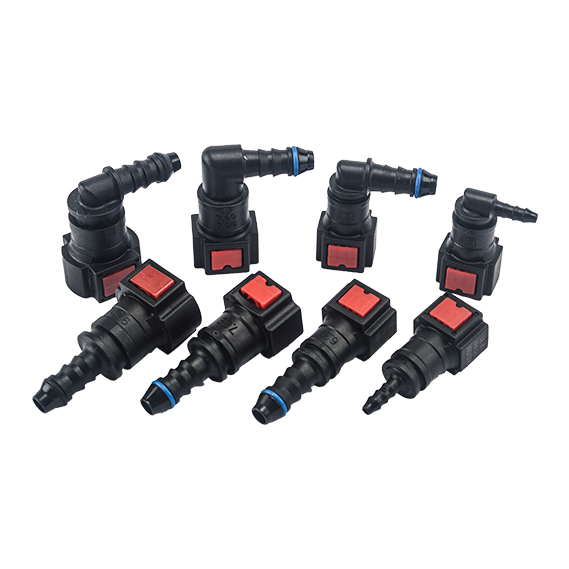
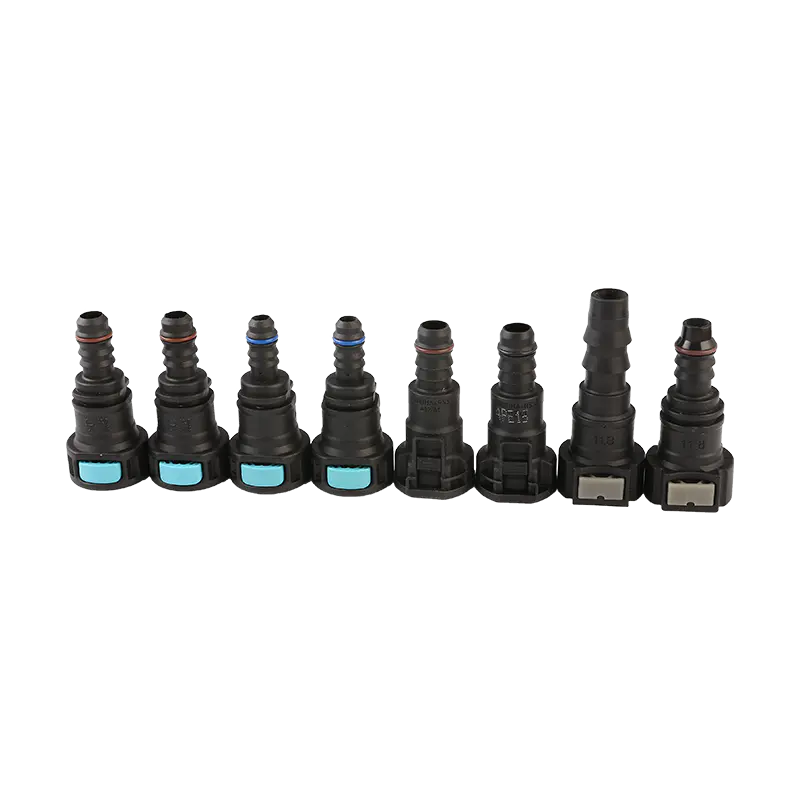
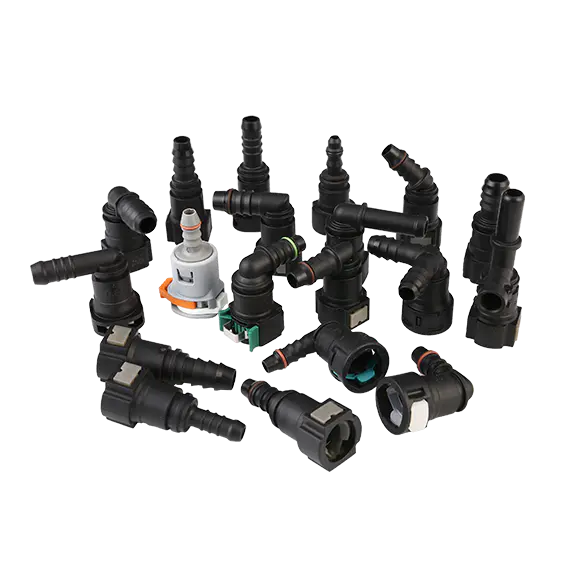
Selecting appropriate materials for classic car fuel pipe fittings replacement is crucial. Replacement pipes and fittings should match or exceed original specifications to ensure safety and performance:
Stainless steel tubing is preferred by restoration professionals for its corrosion resistance and strength.
SAE flare fittings are common for many classic fuel systems, providing secure metal-to-metal seals at joints.
Ensure adapters and fittings are compatible with existing components, including fuel pumps, carburetors, and any inline filters.
Linhai Alway Technology Co., Ltd. recommends using quality metal tubing and correctly rated fittings to withstand vibration and prevent future leaks.
3. Plan the Routing and Preparation Work
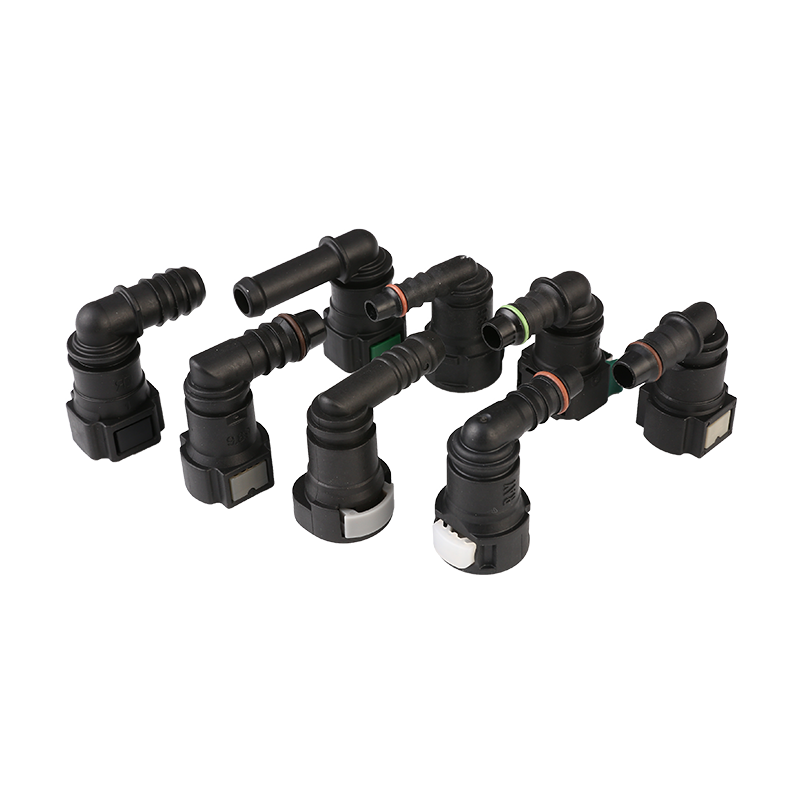
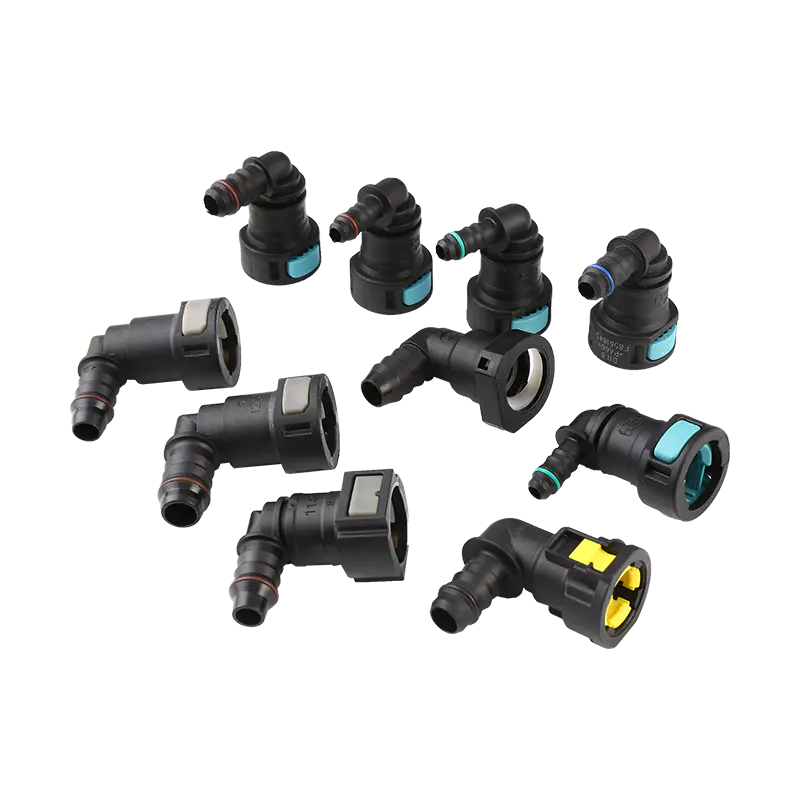
Proper routing of the fuel lines and fittings ensures long-term reliability:
Avoid sharp bends or kinks in the pipe; these can restrict flow and weaken the tube.
Use appropriate clamps and supports at regular intervals (e.g., every two feet on rigid runs) to minimize vibration stress.
Keep fuel lines away from heat sources like exhaust manifolds or headers to prevent fuel vapor lock or premature wear.
Preparation also includes cleaning threaded areas and ensuring that all burrs or rough edges are removed before assembly. Fittings that are not seated properly can leak fuel under pressure.
4. Remove Old Fittings Safely
Once you have inspected and prepared your replacement parts:
Depressurize the fuel system by relieving pressure and disconnecting the battery.
Carefully loosen and remove old fittings using the correct tools to avoid rounding threads or damaging pipes.
If the existing pipe is badly corroded, cut sections cleanly and remove them, taking care not to spill fuel.
Avoid using quick fixes like gasket cement to seal leaky fittings—these are temporary and can create safety issues.
5. Install New Fuel Pipes and Fittings Correctly
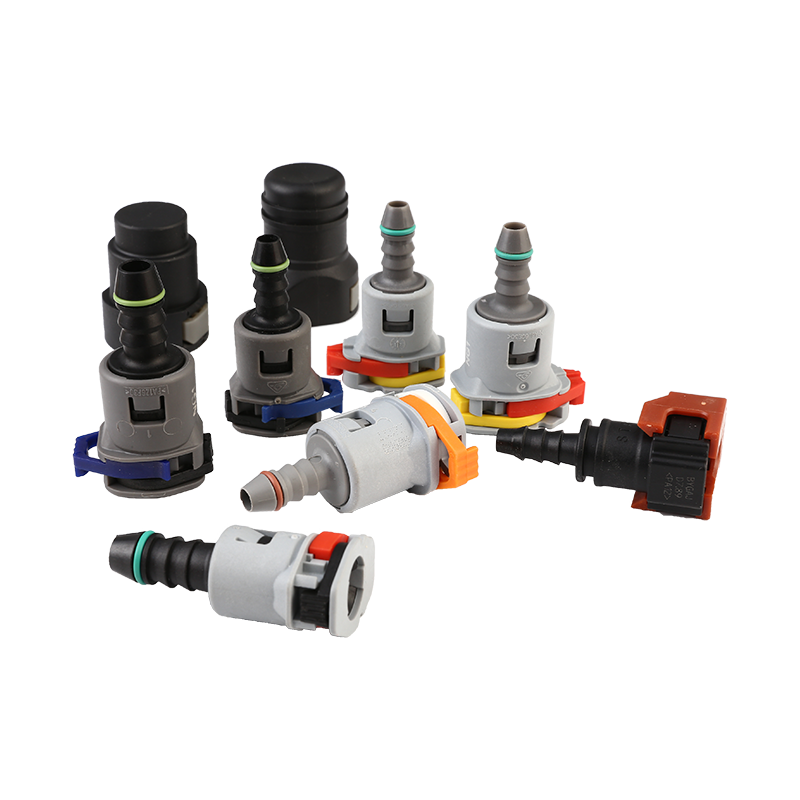
Proper installation ensures a snug, leak-free system:
Apply a light film of fuel-compatible lubricant on threaded fittings to ease assembly (but do not use gasket cement on main fuel line joints).
Tighten fittings to manufacturer torque specifications to ensure proper seals without damaging threads.
After installation, perform a controlled test by turning the ignition on (without starting) to pressurize the system and check for leaks.
Make sure all hose clamps and fittings are secure and do not move when gently tugged.
6. Perform a Final Safety and Performance Check
Once replacement is complete:
Start the engine and monitor the fuel lines and fittings for any signs of seepage.
Check under different operating conditions (idle, acceleration) to ensure stable fuel pressure and no leaks.
Periodically re-inspect fuel line connections during regular maintenance, especially after the initial few drives post-installation.
Consistent checks increase confidence that your classic car fuel system operates safely and efficiently.
.png)